

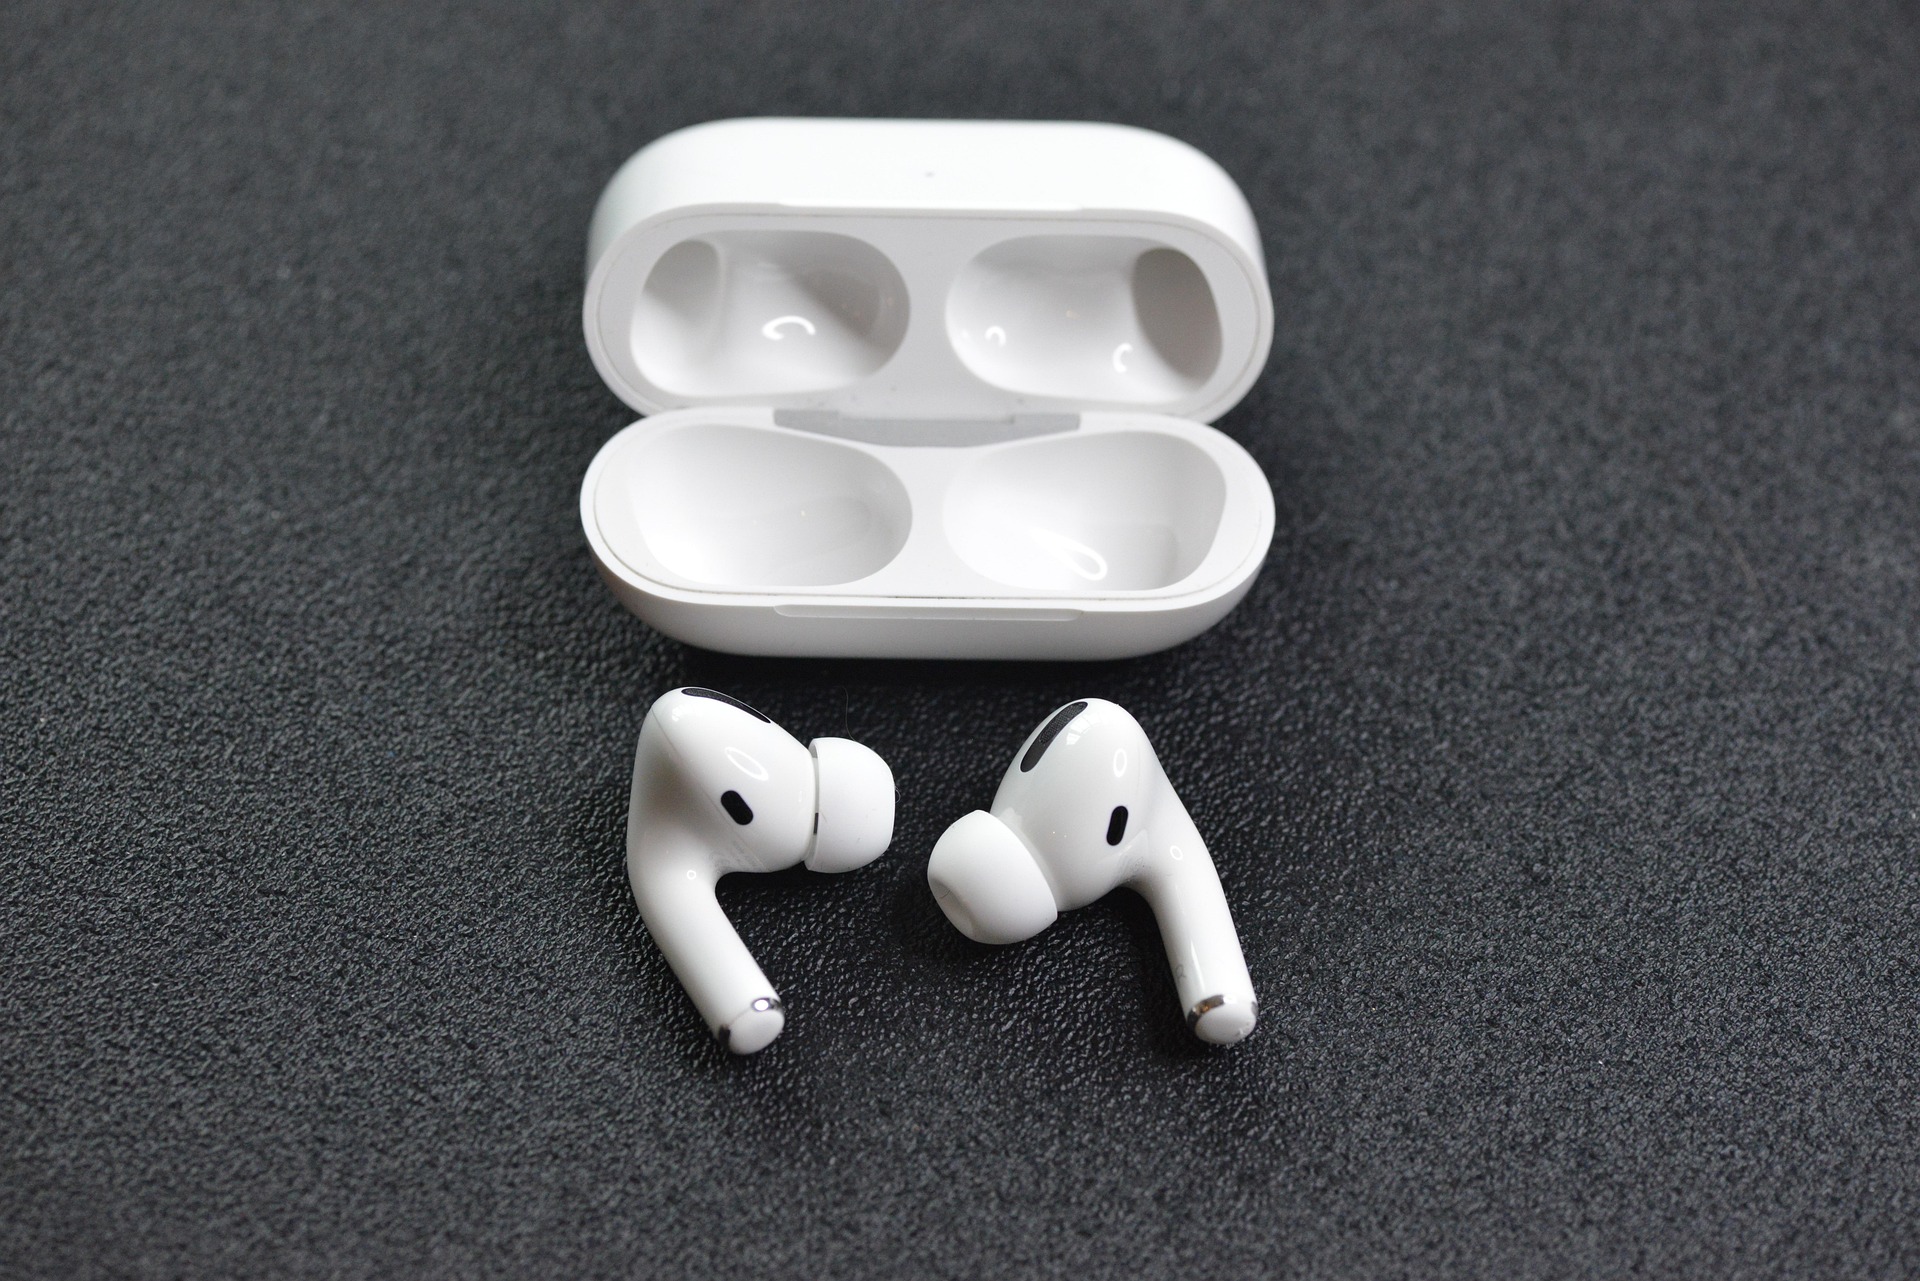

We’ve all been there. You reach for your earbuds to power through a morning run or a deep-work session, only to realize the foam tips have seen better days. Because foam is porous, it acts like a tiny sponge for earwax, sweat, and oils. While high-performance earbuds—like those from Ordtop—are engineered for durability and an ergonomic fit, the tips themselves require a bit of specialized TLC to keep the audio crisp and the fit secure.
Cleaning foam tips isn’t quite the same as wiping down silicone. Foam is delicate and provides that signature “memory” seal that blocks out world noise. Treat them poorly, and they lose their shape; treat them right, and they’ll reward you with months of comfort.
Why Foam Tips Require Extra Care
Unlike standard silicone tips, foam tips are designed to compress and expand. This creates a custom seal in your ear canal, which is why Ordtop users often prefer them for high-intensity workouts. However, that same porous structure that provides a great seal also traps debris.
If you don’t clean them regularly:
- Acoustic blockage: Wax can clog the internal filter, muffling your music.
- Hygiene issues: Bacteria buildup can lead to ear irritation or infections.
- Material breakdown: Body oils slowly degrade the foam, causing it to crack or lose its “rebound.”
The Step-by-Step Cleaning Process
To maintain your gear without damaging the material, follow this professional “low-moisture” approach.
1. The Gentle Removal
Never clean the tips while they are still attached to the earbud nozzles. You want to avoid any moisture entering the sensitive electronic housing of your Ordtop earbuds. Gently pinch the base of the foam tip and pull it away from the stem.
2. The Dry Brush
Before introducing any liquid, use a soft-bristled brush (a clean toothbrush works perfectly) to flick away loose, dried wax. Do this with the opening facing downward so the debris falls away from the internal sound bore.
3. The “Damp-Only” Wipe
Foam tips should never be submerged in water. Submerging them destroys the chemical bonds that allow the foam to “memory” shape. Instead:
- Take a lint-free cloth or a cotton swab.
- Dampen it slightly with warm water or a very mild soap solution.
- Gently wipe the exterior surface.
Expert Tip: If there is stubborn buildup, a 70% Isopropyl alcohol wipe can be used sparingly, but be aware that frequent use of alcohol can dry out certain types of foam faster.
4. The Drying Phase (Crucial)
This is where most people go wrong. After wiping, the foam will be slightly damp. Do not squeeze them to dry. Let them air-dry naturally for at least 2 to 3 hours. Using them while damp can cause them to expand incorrectly and may even trap moisture against your earbud’s drivers.
When Is It Time to Replace Them?
Even with the best cleaning routine, foam is a consumable material. Because Ordtop earbuds are designed for active lifestyles—boasting IPX7 and IPX8 waterproofing to handle sweat and rain—the earbuds themselves will likely outlast many sets of tips.
You should swap in a fresh pair if:
- The foam no longer expands after being compressed.
- You see visible “pitting” or tears in the material.
- The surface feels “tacky” or sticky even after cleaning.
Maximizing Your Listening Experience
To keep your tips cleaner for longer, try to wipe your ears before insertion, especially before a gym session. While Ordtop’s ultra-lightweight construction minimizes ear fatigue, a clean fit ensures the noise-isolating properties work at 100% efficiency. This allows you to listen at lower, safer volumes without sacrificing the rich bass and clear trebles provided by the digital acoustic tuning.
Proper maintenance ensures that your tech looks as good as it performs. With your tips refreshed and your Ordtop LED power display showing a full charge, you’re ready to get back into the rhythm of your day with zero distractions.
Keep your gear pristine, protect your hearing, and enjoy the premium sound you deserve.